


Imagine soaring through the skies while effortlessly capturing heat signatures like a superhero on a mission. The Webbizmagnet Raspberry Pi Zero Thermal Drone combines cutting-edge technology with a friendly price tag. If you’ve ever wanted to build your very own thermal drone but felt overwhelmed, fear not. This guide is packed with everything you need to get started, without turning into a mad scientist. So, grab your tool belt, and let’s jump into the world of thermal imaging and drone technology.
Overview of Raspberry Pi Zero in Drones
The Raspberry Pi Zero is a remarkable addition to the world of drones thanks to its compact design and robust capabilities. This tiny powerhouse serves as the brain for a range of UAV applications, particularly in thermal imaging. Its lightweight structure allows for exceptional maneuverability, making it an ideal choice for hobbyists and professionals alike.
Key Features of the Raspberry Pi Zero
One of the standout features of the Raspberry Pi Zero is its ability to operate efficiently with minimal power consumption. This is crucial for drones where every ounce of weight matters. Also, it includes:
- HDMI Port: For connecting to external displays.
- Camera Serial Interface (CSI): Allows easy integration of camera modules, including thermal cameras.
- USB On-The-Go (OTG): This makes it simple to connect various peripherals.
Benefits of Using Raspberry Pi Zero in Drone Technology
There are numerous benefits to utilizing the Raspberry Pi Zero in drone technology. First, its versatility is a game changer: users can program it to perform specific tasks tailored to their needs. Besides, it is cost-effective, meaning users can build a sophisticated thermal drone without very costly. Finally, its GPIO pins allow for expansion and customization, opening endless possibilities for creative applications.
Exploring Thermal Imaging Technology
Understanding thermal imaging technology is crucial for anyone looking to integrate it into drone applications. It involves capturing infrared images that reveal temperature differences between objects, which can be incredibly useful in various fields.
How Thermal Cameras Work
Thermal cameras detect infrared radiation emitted by all objects, converting this data into images that represent temperature variations. The result is a clear view of heat sources, which can be displayed in real-time. This tech operates well in complete darkness, making it invaluable for search and rescue missions or wildlife monitoring.
Applications of Thermal Imaging in Drones
Drones equipped with thermal imaging technology have a variety of applications. These include:
- Search and Rescue: Quickly locating missing persons through heat signatures.
- Agriculture: Monitoring crop health by identifying temperature variations in soil and plants.
- Infrastructure Inspection: Assessing the integrity of buildings and power lines by detecting hidden faults.
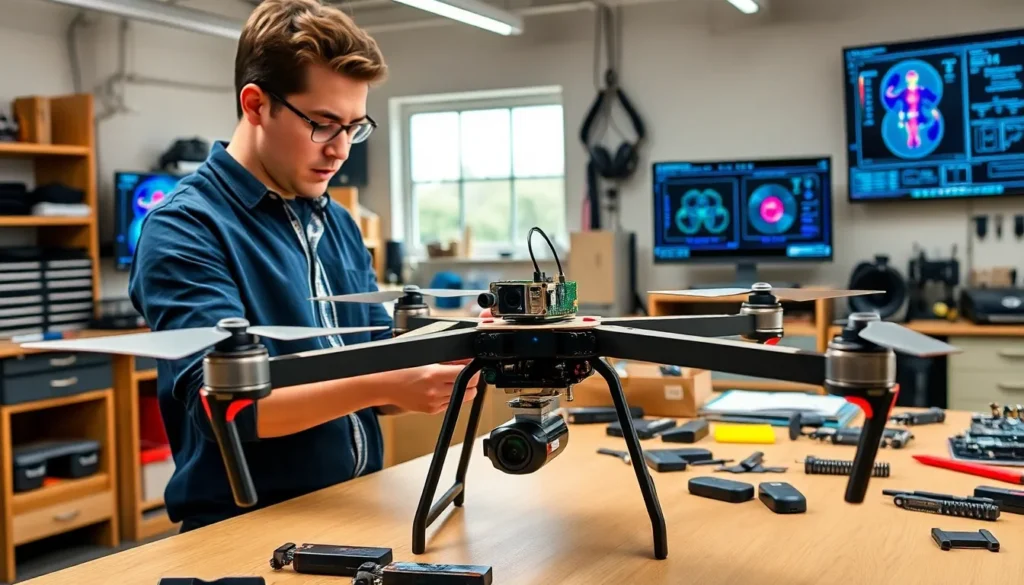
Building a Raspberry Pi Zero Thermal Drone
Creating a Raspberry Pi Zero thermal drone can be as simple or complex as you want it to be. But, having a solid plan will make the process much smoother.
Required Components and Tools
Before diving in, gather the necessary components:
- Raspberry Pi Zero: The main processing unit.
- Thermal Camera: A compatible model like the FLIR Lepton.
- Drone Frame: Choose one that fits your components well.
- Propellers and Motors: Essential for drone mobility.
- Power Supply: A battery that meets your payload requirements.
- Software: You’ll need coding tools like Python for programming.
Step-by-Step Assembly Guide
- Prepare the Frame: Start by assembling the drone frame according to the manufacturer’s instructions.
- Mount the Raspberry Pi: Secure the Raspberry Pi Zero onto the frame.
- Install the Thermal Camera: Attach the thermal camera to the Pi using the CSI interface.
- Connect Power: Ensure your connections for the battery and the Raspberry Pi are secure.
- Connect ESCs and Motors: Link the motors to the electronic speed controllers (ESCs) and make sure they work in harmony with your Pi.
- Software Setup: Install the necessary coding software and set up your script for operational testing.
Programming and Configuration
Now that the hardware setup is done, it’s time to get to the nitty-gritty: programming the Raspberry Pi Zero for seamless operation.
Setting Up the Raspberry Pi Zero
Begin by installing the official Raspberry Pi OS on your board. Use an SD card to load the operating system, and follow the configuration prompts to set up your network settings. This will help easy access and remote operations through Wi-Fi.
Integrating the Thermal Camera
Programming the thermal camera involves ensuring that it interacts well with the Raspberry Pi software. You’ll likely write a script that captures images, processes them, and sends them back to your display. Be prepared to encounter various libraries like OpenCV or specialized thermal imaging libraries that will assist in processing the images.
Testing and Calibration
Getting your drone in the air comes with its own set of challenges. Testing and calibration are vital to ensure everything operates correctly.
Field Testing the Thermal Drone
Once fully assembled and programmed, it’s crucial to take your thermal drone into the field. Start with low-altitude flights to check stability, ensuring that the thermal camera captures accurate data. Adjust settings as necessary: calibration can involve fine-tuning the camera’s focus, monitoring flight paths, and ensuring the image quality is as expected.
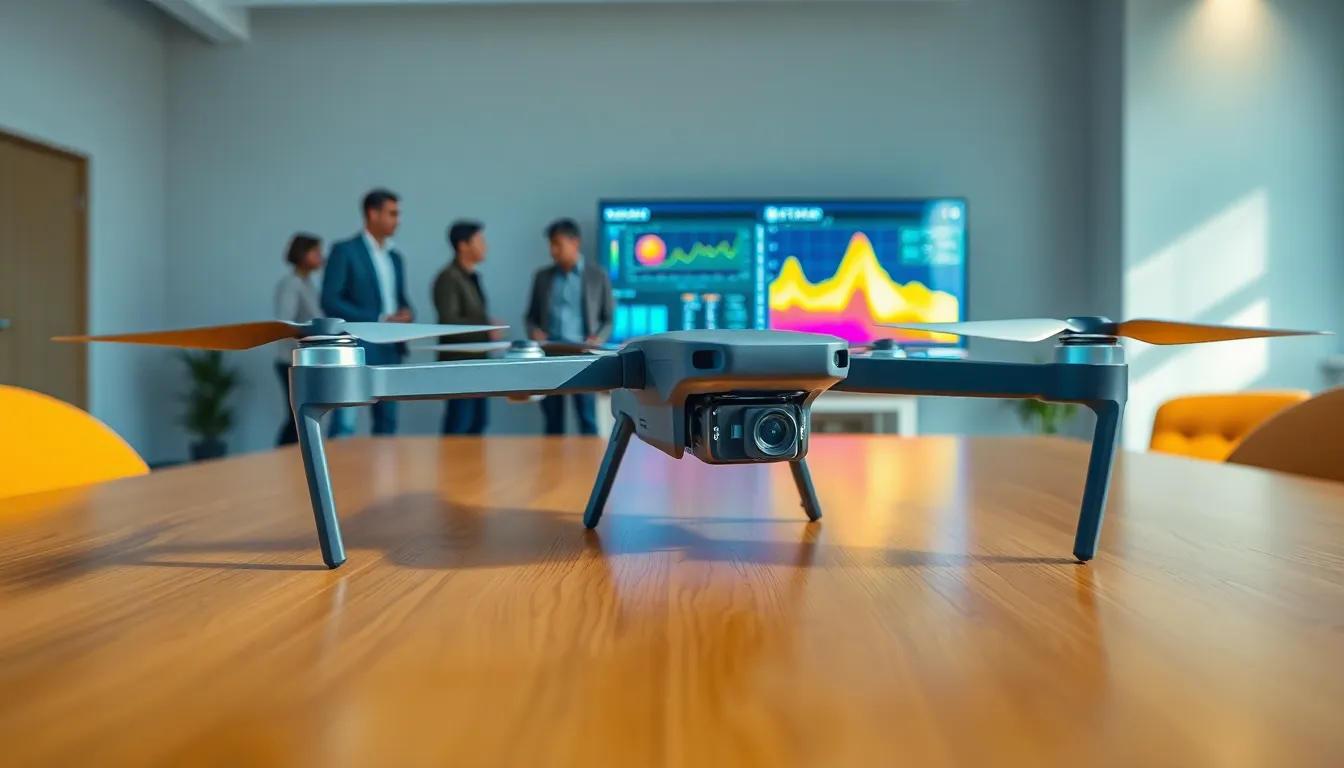
Analyzing Flight Data
After a successful testing phase, analyzing flight data becomes imperative for system optimization. This will help you identify any issues that need addressing.
Challenges and Considerations
Be mindful of the various challenges you might face. Factors like battery life, payload capacity, and environmental conditions can affect drone performance and data quality. Maintain a thorough log of your testing phases, noting any anomalies and making adjustments accordingly. This systematic review will significantly enhance future flights, ensuring top performance.